
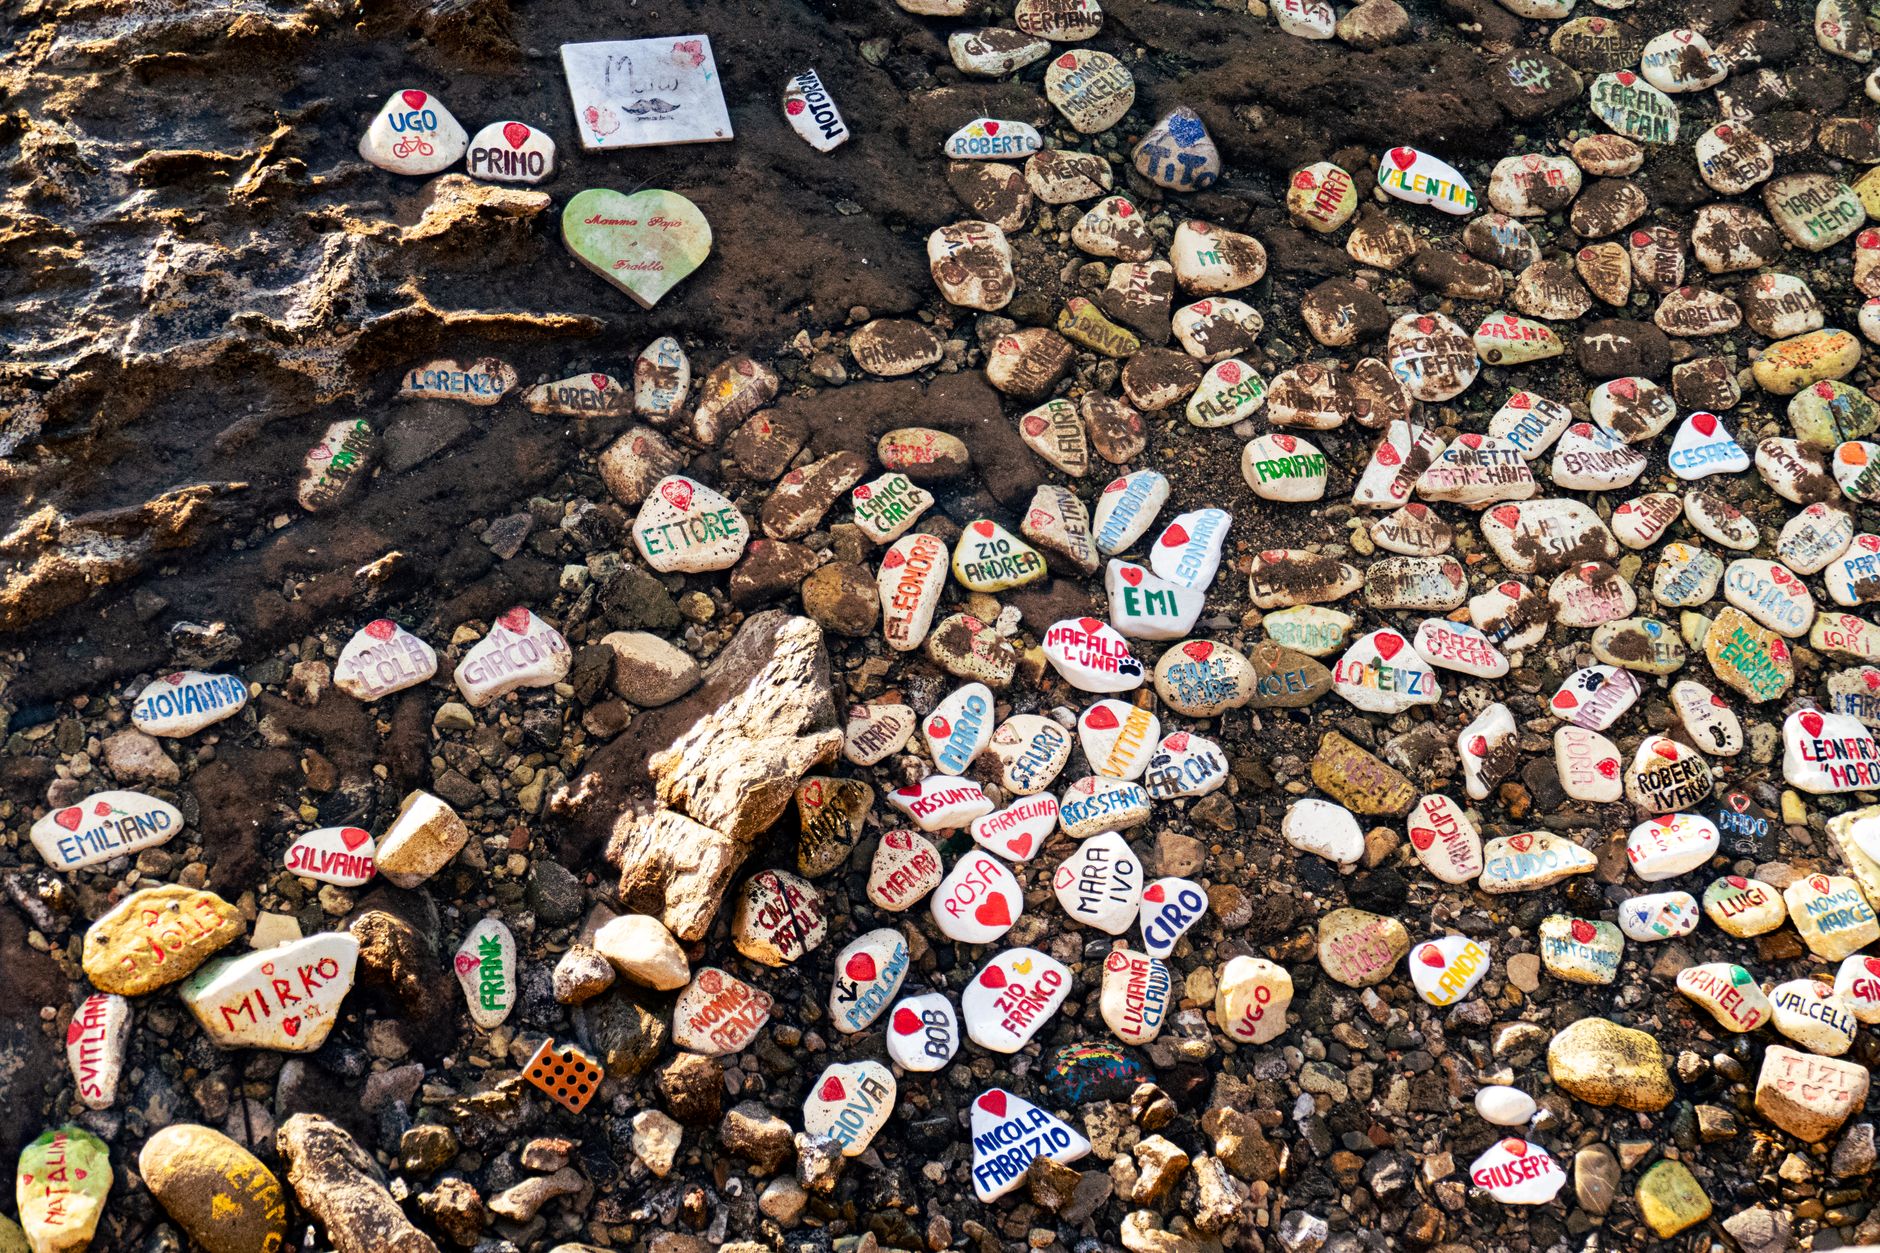
A walk in the woods rarely stays only about trees. A creek bar throws up cobbles. A ridge trail crosses a road cut. A campsite fire ring sits on stone you cannot quite place. Naming what you see turns a pleasant outing into a sharper reading of the land—without turning your weekend into a lecture hall.
This guide is for hikers, backpackers, and casual rockhounds who want a practical trailside habit: observe, photograph, check a short list, then form a careful first guess. It is not a classroom geography syllabus and not permission to fill your pack with specimens. Leave-no-trace ethics and legal collecting rules come first; a name comes second.
Table of Contents
- Ethics before identification
- What “naming” means on a trail
- A trailside checklist for naming rocks
- Photo habits that make trailside IDs possible
- Using a free browser first-pass without outsourcing your eyes
- From guess to a note you will still understand next month
- Common trailside mistakes
- A simple end-to-end woods routine
Ethics before identification
If you remember only one rule, make it this: photograph more than you take. Many public lands—national parks, many state parks, wilderness areas, and private parcels—ban or tightly limit collecting rock, mineral, and fossil material. Even where casual collecting is allowed, quotas, tools, and locations may be restricted. Check the managing agency or landowner before you pocket anything.
Good field manners also protect the place you came to enjoy:
– Stay on durable surfaces when you stop to look; do not scramble fragile slopes just for a “better” sample.
– Do not hammer outcrops for a fresh face unless you are on land where that is explicitly allowed and you have a reason beyond curiosity.
– Leave cultural or archaeological stone alone. Artifacts and historic structures are not rockhound targets.
– Pack out trash; do not leave broken tools or flagging.
A photo with a coin for scale and a note about the trail name teaches you more over a season than a drawer of unlabeled pieces taken from places you should have left alone.
What “naming” means on a trail
Trailside naming is usually a family-level call, not a museum label. Asking “is this likely sandstone, granite, or basalt?” is useful. Demanding a species-level mineral name from a dusty cobble in bad light is not. Weathering, coatings, and water darken or disguise surfaces. Your goal is a defensible hypothesis you can revisit at camp with a guidebook or a digital first pass—not a boast for the group chat.
Separate three layers in your notes:
1. Observation — color, texture, structure, where it sits in the landscape.
2. Interpretation — igneous / sedimentary / metamorphic guess, or “mineral vs rock.”
3. Confidence — high / medium / low, and why.
That habit keeps you honest when an app or a friend later disagrees with you.
A trailside checklist for naming rocks
Use this list in order. It takes a few minutes and works whether you are standing on a granite bald, a limestone hollow, or a glacial cobble bar.
1. Permission and place. Confirm you may stop and look (and whether collecting is off-limits). Write the trail, mile marker, creek name, or road-cut location. Place narrows the plausible rock types as much as any photo does.
2. Rock or mineral? A rock is a mixture of grains or crystals. A mineral is a single crystalline substance. Most trail finds are rocks; showy single crystals are less common unless you are in a known collecting area.
3. Fresh vs weathered surface. Note both if a natural break already exists. Do not create one illegally. Weathered rinds lie about color; fresh faces tell a clearer story.
4. Grain and texture. Can you see individual crystals or sand-sized grains? Is the rock glassy, fine as chalk dust, full of holes (vesicles), or made of cemented fragments? Coarse interlocking crystals often point toward intrusive igneous rock; sand-sized rounded grains with layering suggest sandstone; stretched or banded fabrics hint at metamorphic rock.
5. Structure. Look for bedding, fossils, vesicles, phenocrysts in a finer groundmass, cleavage-like breaks, or folded fabric. Structure plus landscape beats color alone.
6. Weight and hardness clues (gentle). Does it feel oddly heavy or light for its size? Will a fingernail, copper coin, or steel key scratch an already-broken edge—*only* if testing is legal and you are not damaging an outcrop others came to see? Skip acid tests on public trails.
7. Landscape story. Volcanic country makes basalt and related rocks more plausible. Thick bedded cliffs above a karst spring suggest carbonate rock. A river bar may hold travelers from far upstream—note that your cobble might not match the bedrock under your boots.
8. One clear photo set, then a first-pass check. Shoot overall, close-up with scale, and context. At camp—or on a signal break—run your best frame through a careful digital helper if you want a second opinion. Keep the checklist notes beside the suggestion so you can accept, reject, or revise it.
Work the list even when you already “know” the answer. The list is the skill; the name is the byproduct.
Photo habits that make trailside IDs possible
Phone cameras are enough if you shoot on purpose.
– Scale in every hero shot. A coin, knife, or glove tells grain size better than any caption.
– Side light over flash. Midday overhead sun flattens relief; open shade or late side light shows texture. Flash often washes color.
– Multiple frames. One landscape context, one whole specimen, one tight texture crop. If the surface is wet, say so—water darkens tone.
– Steady hands, clean lens. Trail dust on the lens creates soft mush that no identifier can fix.
– Caption while you remember. Trail name, date, dry/wet, and “float vs outcrop” belong in the same album as the images.
Blurry, scaleless, blown-out photos waste time and burn through limited free identification attempts. One sharp set beats ten casual snaps.
Using a free browser first-pass without outsourcing your eyes
Paper field guides and regional geology pamphlets remain excellent, especially offline. When you have service—or back at the cabin—a browser tool can compress the “what family might this belong to?” step. One practical option is a free identifier that follows a trailside checklist for naming rocks: upload or capture a photo in the browser, no account required, and review suggested rock, mineral, or crystal matches. Plan on roughly three free identifications per day, so choose your clearest frames instead of spraying every cobble at the tool.
Treat every suggestion as a hypothesis. Cross-check it against your checklist and the land you are standing on. If the tool proposes a volcanic glass and you are deep in a limestone gorge with no volcanic history in the local guide, trust the landscape and your notes—or wait until you can compare with a trusted book. The tool speeds triage; it does not replace judgment, ethics, or regional common sense.
From guess to a note you will still understand next month
A useful trailside entry looks like this:
Ridge trail above Pine Creek, mile ~3.2. Float cobble on tread, not bedrock. Medium-grained, light salt-and-pepper interlocking crystals, no bedding, feels dense. Tentative: granite-family intrusive. Photo set 14–16 with quarter for scale. Tool suggestion agreed at camp; confidence medium because specimen is weathered float.
That paragraph teaches your future self. A one-word label in a camera roll does not.
If you keep a season log, group notes by trail or watershed. Patterns appear: the same sandstone ledge, the same vesicular basalt talus, the same quartzite that outlasts everything else on the ridge. Naming becomes landscape literacy—the reason many of us walk in the woods in the first place.
Common trailside mistakes
– Collecting first, asking rules later
– Naming from color alone (“it’s green, so jade”)
– Ignoring that river cobbles travel
– Smashing outcrops for Instagram freshness
– Submitting muddy, scaleless photos to any identifier
– Treating an app label as certain when your checklist disagrees
Avoid those, and even a wrong first guess becomes good practice.
A simple end-to-end woods routine
1. Confirm collecting rules; default to photos.
2. Run the checklist out loud or in a notes app.
3. Take three careful frames with scale and context.
4. Form your own family-level guess from texture and landscape.
5. If you want a second opinion, use one strong photo in a free browser identifier and reconcile the result with your notes.
6. Log place, observations, guess, confidence, and whether the specimen was float or outcrop.
Do that for a handful of stops each season and your eye will sharpen faster than any single field-day lecture. The woods already display the curriculum. Your job is to look carefully, stay legal, and keep notes honest enough that a name—when you finally settle on one—means something.
1 thought on “Trailside Rock Naming: A Field Checklist for Woods Walkers and Rockhounds”