
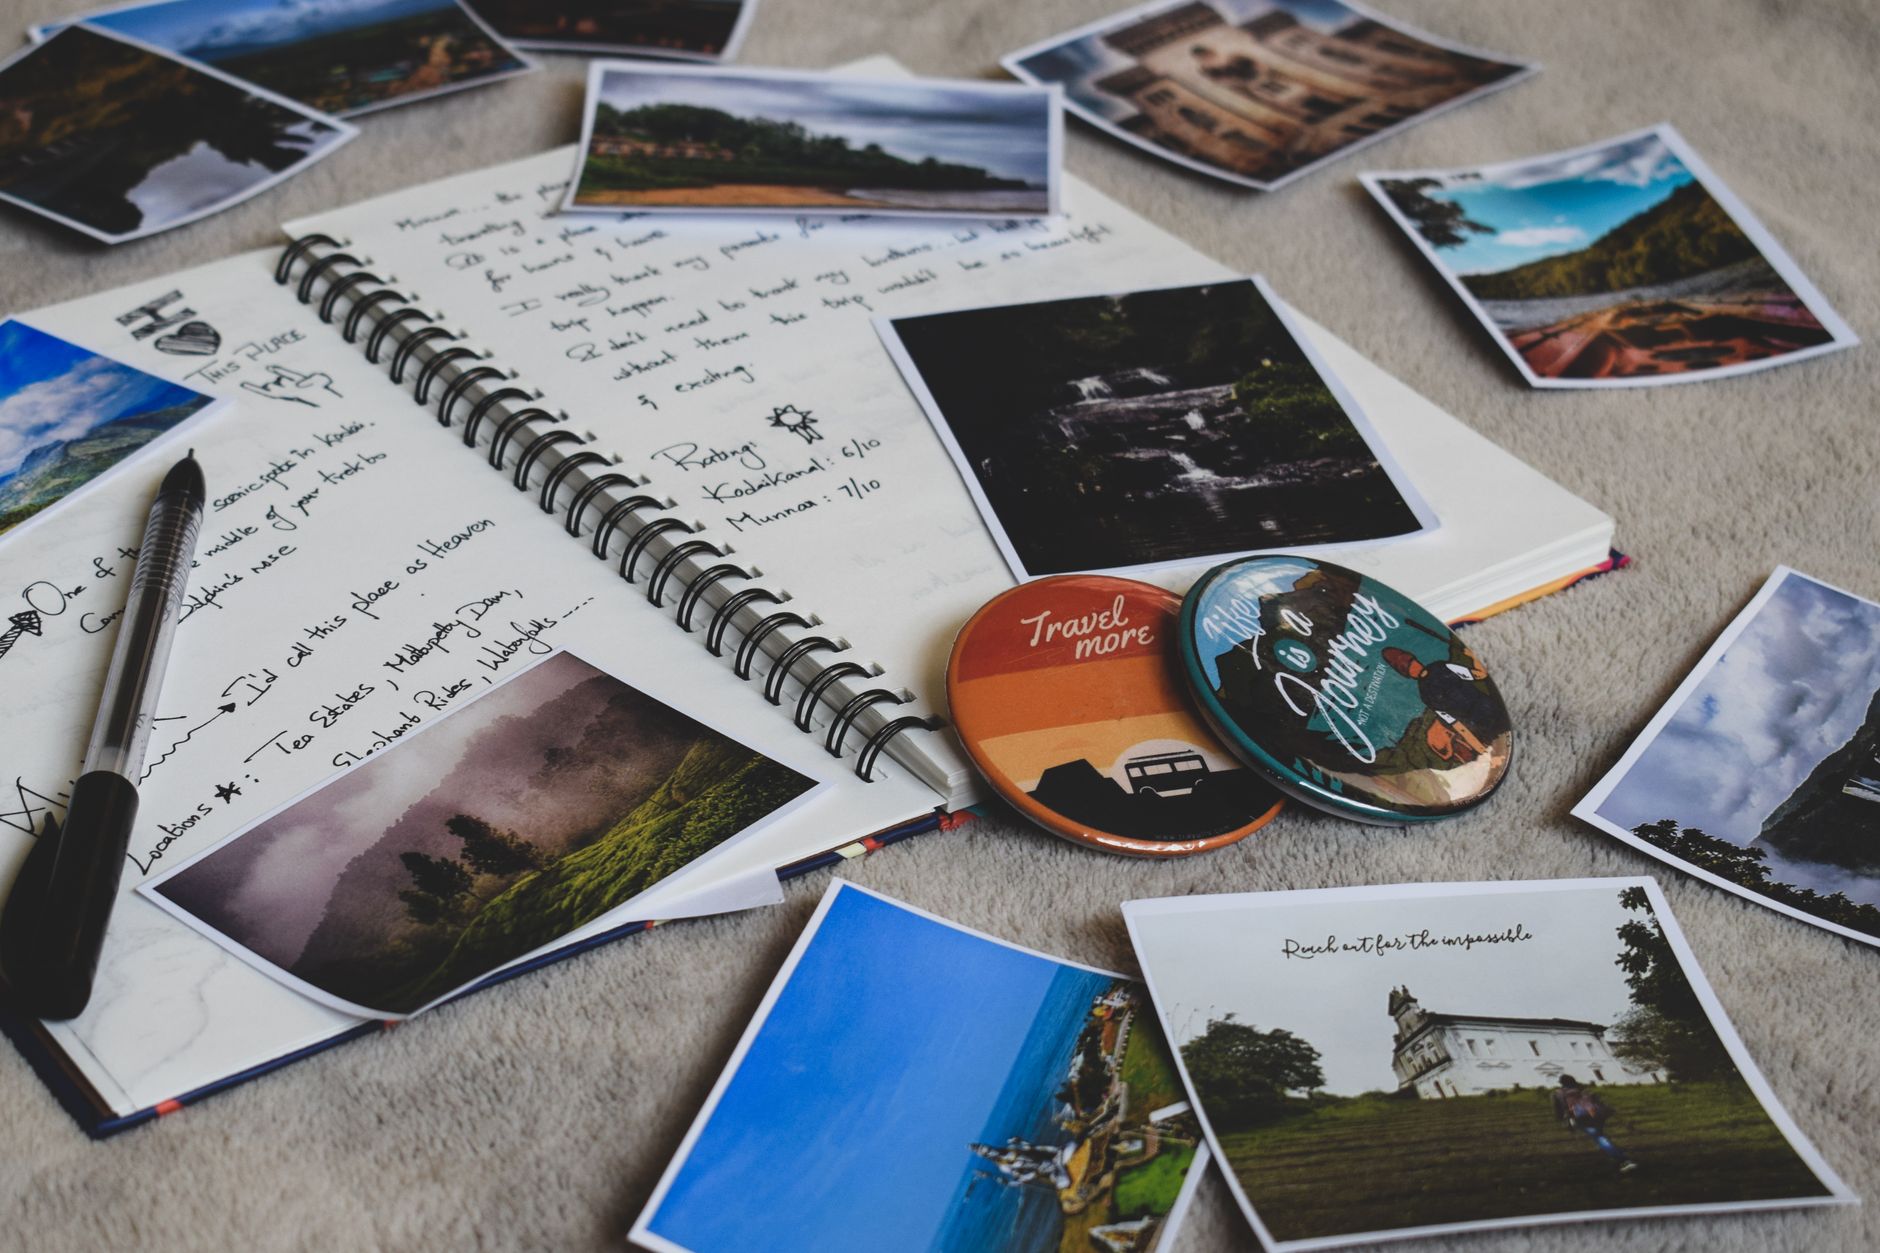
A great trip can leave you with hundreds of photos. Most eventually sit forgotten on a phone or cloud account. A photo book gives those images structure and turns them into a lasting record of your travels.
The key is to create a visual story rather than simply filling pages with pictures. Mixbook photo books offer one way to turn a collection of digital travel photos into a physical keepsake that can be revisited for years.
Table of Contents
Start Before Your Trip
Plan what you want to document before leaving. Create a dedicated folder for the trip and enable automatic photo backups. If you use multiple devices, organize files by date or location.
During the trip, photograph more than famous landmarks. Small details can make the final book feel personal and authentic.
Focus on:
- Landscapes and major attractions
- Travel companions and local people
- Food, architecture, and street scenes
- Transportation and arrival moments
- Signs, tickets, and other memorable details
Expedia Group's 2023 research found that travelers spent an average of 303 minutes consuming travel content during the 45 days before booking a trip. Expedia Group research Visual content plays a major role in how people experience and remember destinations.
Photograph the Journey
Avoid taking dozens of nearly identical shots. Instead, capture different perspectives and moments.
Use wide shots to establish a location and closer images for people and details. Look for leading lines, foreground elements, and negative space. These composition techniques also make photographs easier to arrange in a book.
Do not overlook transitional moments. A train window, airport departure, local market, or roadside stop can connect the major events of your trip.
Consider taking both horizontal and vertical photographs. Horizontal images are useful for full-page landscape layouts, while vertical images can work well alongside text or smaller photographs.
Also pay attention to lighting. Early morning and late afternoon often provide softer light for outdoor photography. At midday, look for shade or interesting architectural shadows to avoid harsh highlights.
Select and Edit Your Photos
Do not start designing the book immediately. First, narrow down your collection.
Remove blurry images, duplicates, and poorly exposed shots. Then group the remaining photographs by day, destination, or activity.
A simple workflow is:
- Cull: Remove weak and duplicate images.
- Group: Organize photos by location or event.
- Rate: Select the strongest images.
- Edit: Correct exposure, white balance, contrast, and cropping.
- Sequence: Arrange photos to create a natural progression.
Keep your editing consistent. Avoid excessive saturation or heavy filters. If you shoot in RAW, export your final images at the resolution and file format recommended by your printing service.
Do not over-edit photographs just to make them look dramatic. Natural colors often age better and preserve the appearance of the destination.
Create a Balanced Layout
Give every page a purpose. Use large images for major moments and smaller images for supporting details.
Avoid using the same grid on every page. Mix full-page photographs with two-image and multi-image layouts. White space is also useful because it keeps pages from looking crowded.
Short captions can add context. Include locations, dates, names, or brief descriptions when the information improves the story.
Choose the book format based on your photography. Landscape formats work well for scenery, while portrait formats suit people and architecture. Consider the number of pages before selecting a format.
You can also divide longer trips into sections. Separate sections for each city, activity, or stage of the journey create natural breaks and make the book easier to follow.
Preserve the Story of Your Trip
A good travel photo book does not need every photograph from your journey. It needs the right photographs.
Combine landscapes, people, food, architecture, and unexpected moments. Keep the sequence logical and the editing consistent. Include wide establishing shots and close-up details so readers can understand both the destination and your experience.
Before ordering, review every page at full size. Check image quality, captions, faces, crops, and page order. Pay particular attention to the center binding, where important parts of an image may be less visible.
Finally, keep a backup of the original photographs and the completed project files. The printed book preserves the story, while the original files give you the option to create additional copies later.
The goal is simple: create a book that brings the trip back to life years after you return home.