
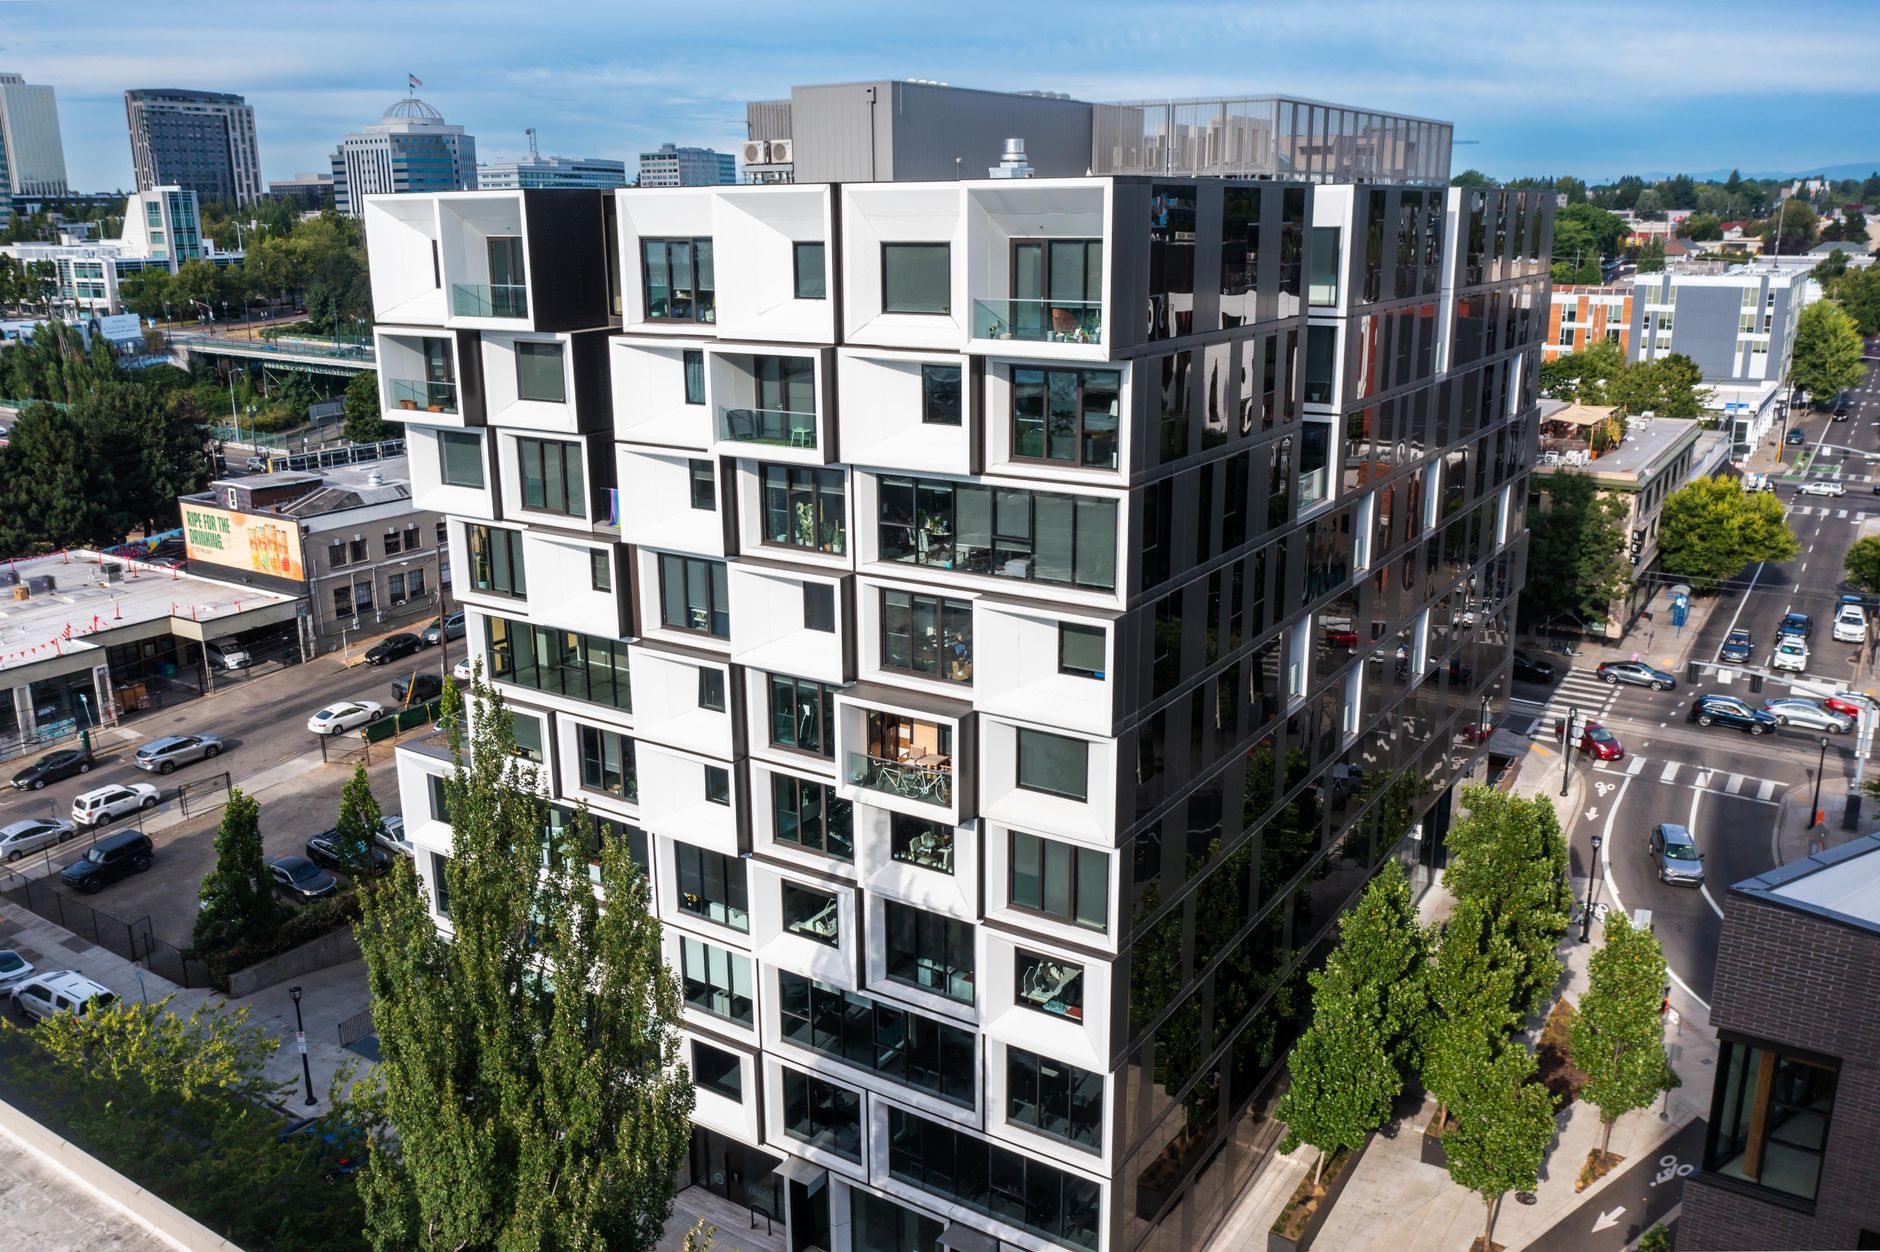
The vast majority of exterior renos are not casualties to the wrong paint color. It's the cladding order being placed after you've booked the trades. Or, it's the fire rating no one checked before you fell merrily in love with that timber profile. Coordinating an exterior renovation is design disguised as a sequencing problem. And, since the walls are the first material to go up, they end up dictating nearly every trade that's due on site after that.
Lock the scope before anything gets torn off the wall
Experienced builders often have stories about clients who decided to move a window two weeks into a renovation. The result is always the same: materials need to be reordered, trades are left waiting, and the budget quietly inflates.
Before any demolition work begins, the scope of the project must be finalized. And it's not enough for it to be "mostly finalized" – it must be completely finalized. This involves having architectural drawings that detail every window and material transition, all the way to flashing specifics. If you are adding a new entry portico or planning to alter the roofline as it relates to the top course of cladding, that decision must be set in stone before the first materials are delivered.
Not being sure about a decision until you see it play out in real life is extraordinarily expensive, but that upfront cost is hard to feel. It's the idling trade for three days, the supplier who now needs five weeks to complete the custom order, and the fact that the entire project schedule just slipped by four weeks. One change order can wreak havoc on a project schedule.
Build the schedule backwards from your longest lead time
Many people plan a renovation the way they'd plan a dinner party – starting with the date and working forward. That's backwards. The right way to plan an exterior reno is to identify the item with the longest lead time and build everything else around it.
For most exterior jobs, that item is the cladding. Depending on the profile, the finish, and the supplier's current order book, exterior cladding can take anywhere from three to ten weeks to arrive after you place the order. If you book your carpenter and cladding installer for a start date before your material has even shipped, you've created a gap in the schedule that costs you money whether the crew shows up or not.
The practical fix is simple: get quotes and lock in your cladding supplier and delivery date first. Then work backwards to figure out when demolition, structural repair, and membrane installation need to happen so the cladding arrives right when the wall is ready for it. Trades booked too early sit around waiting. Trades booked too late mean your material sits in a warehouse racking up storage fees, or worse, out in the weather on-site.
Budget for what you can't see yet
You can't put a final figure on an exterior renovation until the old cladding is stripped off the wall, as you're not aware of what's lurking beneath. This situation goes way over budget more often than not, but it's not a nasty surprise. It's a predictable one. A 10-20% structural contingency is standard for this kind of job. It's not there to protect builders, as most people I know assume. It's there to protect you.
Split out somewhere safe, your structural contingency is for the problems your builder uncovers behind the cladding, then goes to an engineer with. (First rule of hiring a builder: only hire a builder who escalates issues to professionals. Not one who just "smashes out the damaged bits and wacks in some new stuff" with his "lads".) The engineer works out what's structurally compromised. Then your builder tells you how much they're going to have to charge you to fix it. Rotten sills, studs, old termite damage, whole sections that the original builder never even bothered to flash safely – these come up often enough that the contingency isn't a worst case scenario, it's just the cost of knowing what's going on.
Check compliance requirements before you fall in love with a material
Approval from the council and fire-rating requirements are not the kind of paperwork that you think about after you have made your cladding selection. Rather, they should filter your options before you even start comparing profiles and colours.
The National Construction Code outlines the performance requirements for external walls, while in bushfire-prone zones, the Bushfire Attack Level rating for your site can eliminate some materials from consideration altogether. For example, some timber products are non-compliant at higher BAL ratings unless they are treated or supported, changing costs and installation considerably. Finding this out only after you have already committed to your preferred cladding choice is a very unpleasant experience.
Finding out your BAL rating and the NCC clauses at the start of – or even better, before – your project, before you have ordered from your supplier, spares you the cost and heartache of a redesign later on. This will also determine your schedule pretty directly since planning approvals hold up more external renos than many other steps combined, even before you have your first tradie on site.
Get the trade sequence right, because reversing it is how water gets in
You can't change the order of operations on an exterior wall, no matter how much you're itching to get going. Here's the order: demolition, structural, membrane and flashings, cladding, windows and sills, final finishes. Every single one of those steps is there to keep water out of the wall cavity.
Membrane before cladding because it's your backup if water gets past the outside skin. Flashings have a specific overlap order and direction of installation so water sheds outward, not tracks in behind the cladding into the frame. If your painter shows up before the flashing details are done, or cladding goes on before the membrane is properly lapped and taped, you haven't saved time. You've just built a leak in the wall that might not show up for 2 or 3 years.
Moisture ingress is the most common failure mode in exterior reno work, and it's almost always a sequencing failure rather than a materials failure. Get the order right and the materials do their job. Get it wrong and even premium cladding won't save you.
Choose your cladding on lifecycle cost, not sticker price
This is the very beginning of where material selection and project coordination actually cross over. The cladding you select doesn't just determine how the house performs – it determines your maintenance regime, your repainting frequency, and how exposed the wall is to the particular risks on your block.
Classic timber weatherboard cladding has a track record and a look and feel that many homeowners are keen to maintain. But there are costs-in-use that aren't factored into the initial cost estimate: re-painting every five to ten years, susceptibility to termites, and a higher rate of decay if any part of the sequencing or flashing detail was slightly out. CSIRO research suggests that termites cause more damage to Australian homes than fire, floods, and storms combined, and so termite pressure has now become a serious factor in material choice rather than an after-the-fact consideration.
Fibre cement weatherboard profiles do a job, just as vinyl or an engineered option does. They're relatively thick and heavy and this can suit a project (on-ground floor substrate thickness can be a factor for some designers), but many renovations and new builds are trying to do quite a bit on limited size sites these days: add a bedroom, plonk a deck up top, put in some slide-away doors, a butler's pantry, a spa bath? All of a sudden the loadings you're adding might make an ultra-light cladding material a very attractive proposition. It pays to keep in mind that a typical vinyl weatherboard is less than half the weight of a fibre cement weatherboard and all the PVC products have thin-wall high-energy geometries that deliver serious strength performance for very little mass.
On the wall, the rigidity of vinyl weatherboards means they're particularly good at hiding irregularities in the surface underneath. For homeowners weighing up weatherboard cladding options against timber's ongoing maintenance burden, a pre-finished vinyl profile removes an entire category of future cost and scheduling headache. Fibre cement weatherboard is not so forgiving in this respect and extra wall framing to fit the thicker product is often needed. This introduces more heat transference, negating the insulation benefit of the added thickness in the first place. Pre-finished vinyl is installed using proprietary capped clips to allow the product to expand and contract with warm and cold weather without a limiting rattle factor. Fibre cement weatherboard requires face-fixing (spaced by measurement), so what you've done is introduced a series of dual natural thermal bridges to each and every board.
Time the installation around the weather, not the calendar
Exterior finishing work imposes physical realities that no deadline can change. Paints, sealants, and mortars require specific minimum temperatures and humidity levels to cure effectively, and if you don't respect this, you're the one who's going to be doing the rework. Everything might look fine the day the coatings go on, but if it was too cold or wet as they were applied, they can fail in their first season.
Preferably, the cladding and finishing phase of construction takes place during a dry, temperate period of weather for reasons that go beyond mere convenience. Put simply – rain before the paint sets means coatings that are weaker than they should be. This makes the case for pre-painted products stronger when the window for painting on-site is likely to be too short and too late.
Read the fine print before you book the crew
Every type of cladding system has specific requirements from the manufacturer relating to how it is installed. Fixing patterns, expansion gaps required between boards, ventilation cavity requirements behind the cladding – these are different for every product and every one of them is skipped by default.
Pass those details to your cladder after the job has been locked in and they're going to find that they're missing materials, or have to pause to order expensive rivets. Worse, they'll plough ahead and two years later your building's paint is peeling or your cladding is wavy. It's not broken warranty if they didn't follow the fixing schedule, or space boards as specified. You can have it right or you can have it now.
The reverse is also true. If the cladder's requirements change your build so that windows are now too big for the reveals, or they don't appear to have accounted for the thickness of the insulation, it's far better to have those conversations before bricks are torn down.